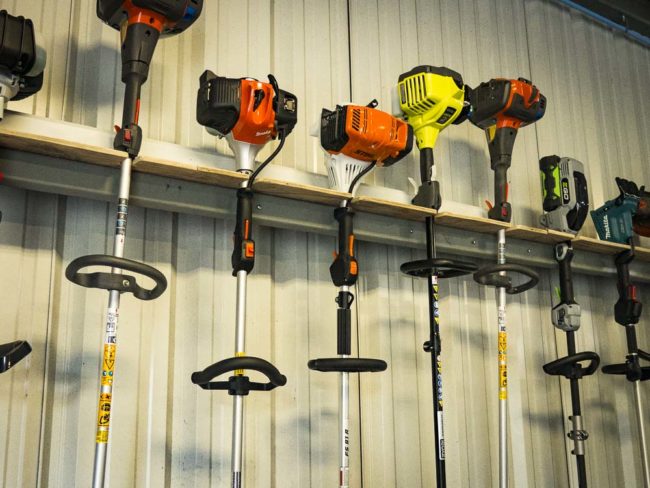
Here at OPE Reviews we’re constantly testing and reviewing many tools and equipment related to the Outdoor Power Equipment (OPE) world. I’m sure it comes by no surprise that a large portion of these are stick tools. It’s not uncommon to have several string trimmers, brush cutters, hedge trimmers, and edgers in at one time. Throw in a shootout, where we have 8 to 12 of the same type tools, and we’re quickly overwhelmed, even with a big shop.
Related Content: Best Backpack Blower Shootout
Our interweb searches came up short on what we wanted. Many racks are available on the market for trailers and trucks, however, racks for the shop or garage is another story. Armed with plenty of powertools and scrap plywood, we thought we’d make our own Homemade Trimmer Rack.
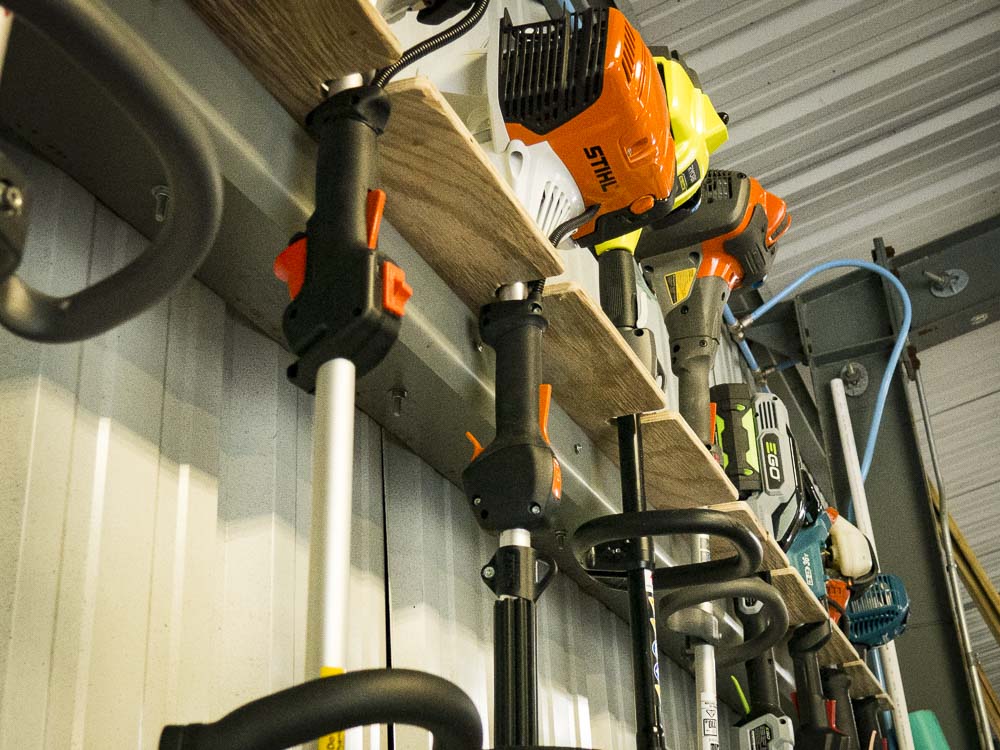
Our shop is built from an engineered steel building with Z-purlins around the perimeter and overhead. We set out to utilize these Z-purlins on the wall since they seem to be the perfect height. After a few discussions and mock-ups, we decided on hanging them in a vertical manner. In addition to holding the tools, we thought the Homemade Trimmer Rack could also serve as a shelf to hold supplies.
https://www.instagram.com/p/BiPPA-5heFL/?taken-by=opereviews
Homemade Trimmer Rack Materials and Tools
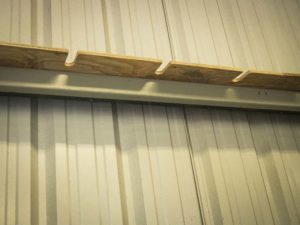
In addition to the materials, we did use a few tools in the process of making this homemade trimmer rack. There are many ways to go about this, but we’ll list what we used.
- Makita Plunge Cut Track Saw – any circular saw or table saw will work as well.
- Jigsaw
- Forstner Bits – you can also use other drill bits or cut the curves with a jig saw.
- Twist Drill Bits
- Hammer
- Pencil
- Tape Measure
- Cordless Drill or Drill Press
- Rafter Square (Speed Square)
- Sander and sandpaper
- Wrench or Ratchet and Socket
Making it Happen
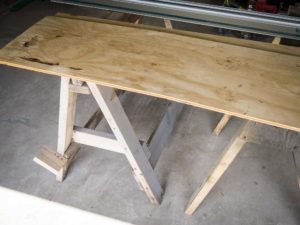
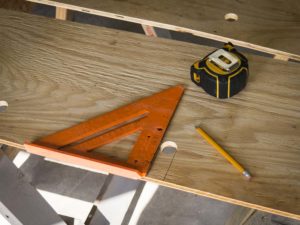
We used our Makita plunge cut track saw to rip the plywood scraps down to 12-inches by 48-inches. We made several of these since we currently have at least 14 stick tools that need a place sleep for the night. After a few measurements with the tools on the floor, it was determined that we need about 12-inches spacing between each trimmer. Measuring from the side (short edge) of the plywood, we measured in 6-inches and made our first mark. From there, we made a mark every 12-inches after. So, you should end up with a mark at 6″, 18″, 30″, and 42″. Each of these pieces should allow for four tools to be hung evenly. Also, starting at the 6-inch mark, when you butt two shelves against one another, the spacing carries on.
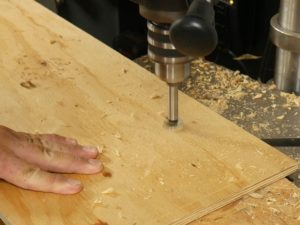
Come back and make a cross mark, intersecting the other you just made. This intersecting mark should be at 2-1/2″ inches from what will be the front (long edge) of your shelf. You should now have 4 cross-marks on each of the 12″ x 48″ pieces of plywood. Now it’s time to break out the cordless drill or use a drill press like we did. Using a 1-inch forstner bit, drill a 1-inch hole centered on your cross-marks.
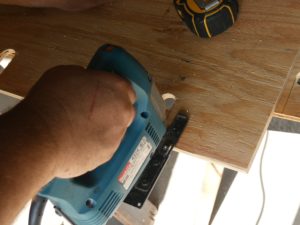
Using a rafter square on the front edge of the plywood, draw perpendicular lines running from the front edge up to each side of the hole you just drilled. You should have two lines for each hole. Now take the jigsaw and carefully cut along the lines. You can mount this as-is, but you probably want to hit it with a sander real quick. We cleaned up our rough edges with a pneumatic 6-inch DA sander, and we rounded off any sharp corners.
Installing the Homemade Trimmer Rack
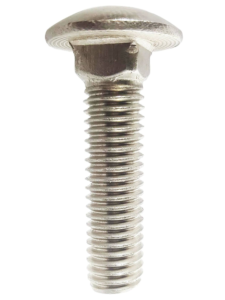
You should now be able to place the plywood shelf/rack back on the same purlin and the bolts should line up with the drilled holes. Place your washers and nuts on the bolts and fasten with a wrench or ratchet and socket.
Place the Trimmers in Their New Home
The plywood should stick over the 8-inch purlins by roughly 4-inches. The slots for each trimmer should only go 3-inches deep, allowing for each trimmer room to slide in. From start to finish, this rack only took about 45-minutes to plan and build. We thought it turned out great. Marvel in your new Homemade Trimmer Rack.
While we used the z-purlins from our metal building to support the shelf/rack, you can very easily build a quick frame for the shelf, using just 2x4s. In our case the cost was about $4 in hardware and we used free-to-us scraps of 1/2″ plywood.

