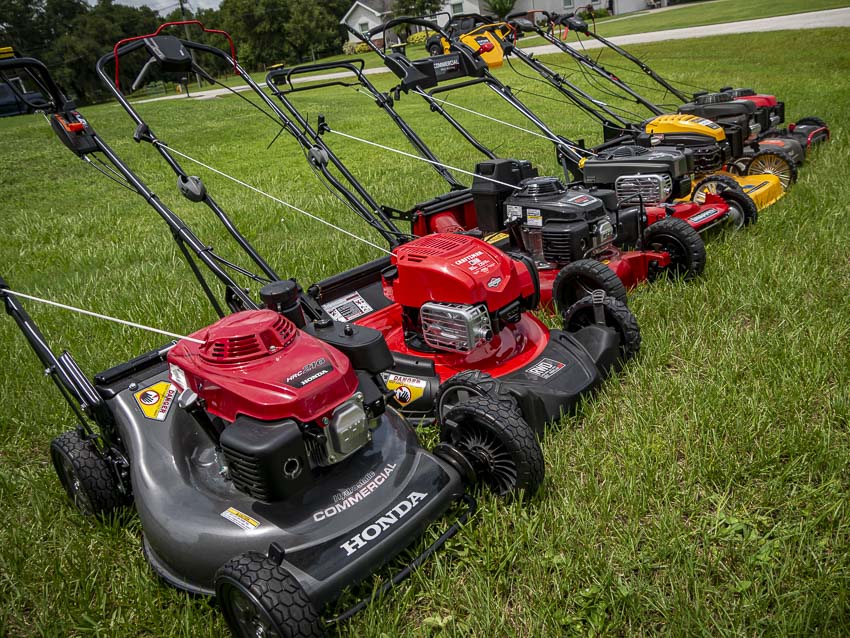
Spring is almost here, and with it, the weekly opportunity to mow your grass. For those of us in the more tropical climates, the winter presents a mere “short pause” in our efforts to keep the lawn trimmed up. This is to say that our mowers stay active over the winter, to some extent or another.
However, for those of you living in areas where the snow and the cold weather bring growth to a grinding halt, the chances are good that your lawnmower has sat unused in storage for the last three or four months. You’ll probably want to look into getting that mower ready for springtime growth. Mower maintenance is a must before you need to start maintaining your lawn. But, where to begin? We came up with a checklist to help you get back up and running.
Lawn Mower Maintenance Check List
1. Change That Spark Plug
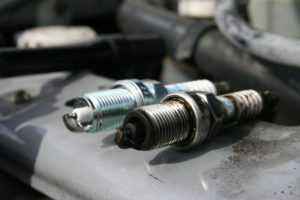
Ranging anywhere from about $2 to $6 for a small engine spark plug, this essential part of routine mower maintenance shouldn’t break you financially. Spark plugs should be clean and sharp so that they can produce combustion-generating sparks. If you let your spark plugs get too worn out or dirty, they struggle to do that job well.
Of course, “If it ain’t broke, why fix it?” Manufacturers would like you to change your spark plugs annually. Sometimes, however, they just need a good cleaning. You can pick up tune-up kits for this kind of thing, or, you could soak the spark plug in brake cleaner and wipe it down with a rag.
If you do wind up having to replace the spark plug altogether, you’ll need to know your specific engine’s specs. Most spark plugs come pre-gapped to specific engine models, so it will be helpful information to know before you run to the store. You can always use a spark plug gauge to ensure that the new spark plug matches the manufacturer’s specs. It’s also important to know the heat range of the spark plug. All of this should be part of the plug product number.
2. Examine the Belts for Wear and Tear
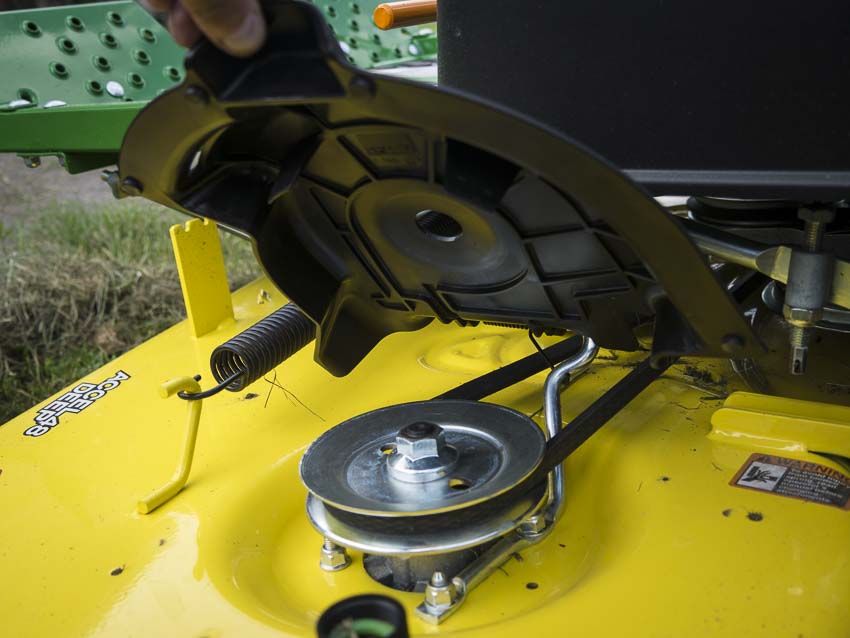
This probably won’t take more than a visual inspection, but you’ll definitely want to make sure that any belts on the mower look free from any splits and cracks. Also, look for signs of twisted belts. Many times belts may not look that old, but they have twisted and are riding inside-out on the pulley.
If you do need to replace some old belts, you have a few options. You can take it in to get serviced, which might be the best option if you’re not too comfortable with troubleshooting and pulling your mower apart.
For those of you who enjoy a challenge, this step of seasonal mower maintenance largely depends on what style of mower you use. Is it a self-propelled push-style mower? Or, do you use a riding mower? Either way, you’ll want to consult the owner’s manual. If step-by-step instructions aren’t included, Youtube has a wealth of instructional videos online—just make sure you’re comfortable with any instructions you receive.
3. Check the Air Filter
Does your mower use a paper or sponge-type air filter? If your mower uses a paper-type filter, you might be able to get by just blowing it out with high-pressure air. However, these filters are disposable, and a new one will probably run you anywhere from $5 to $15. If your filter looks oily or really dirty, start the mowing season off with a new filter.
Foam filters will benefit from a good spring cleaning as well. You can use water and mild dish soap to rinse and clean out the filter. Make sure to squeeze out excess water after you wash your filter. You want your filter dry. Then, you’ll want to oil your filter. Basically, you’ll take a few drops of motor oil to the filter, working it around with your fingers. Dab away any excess oil with paper towels. Also, be aware that some newer mowers use non-oiled filters, so you’ll want to double-check the manufacturer specs before you go dumping oil all over your filter.
4. Change the Oil
Speaking of oil, one of the more important parts of mower maintenance comes down to checking your mower’s oil levels and general cleanliness. If the oil in the engine appears black, or if it has debris floating around in it, it’s time to drain the oil and replace it. You’ll want to check the manual on how to go about that, but most likely, you’ll be able to remove a drain plug to allow the oil to drain out.
5. Sharpen Blades and Check Blade Balance
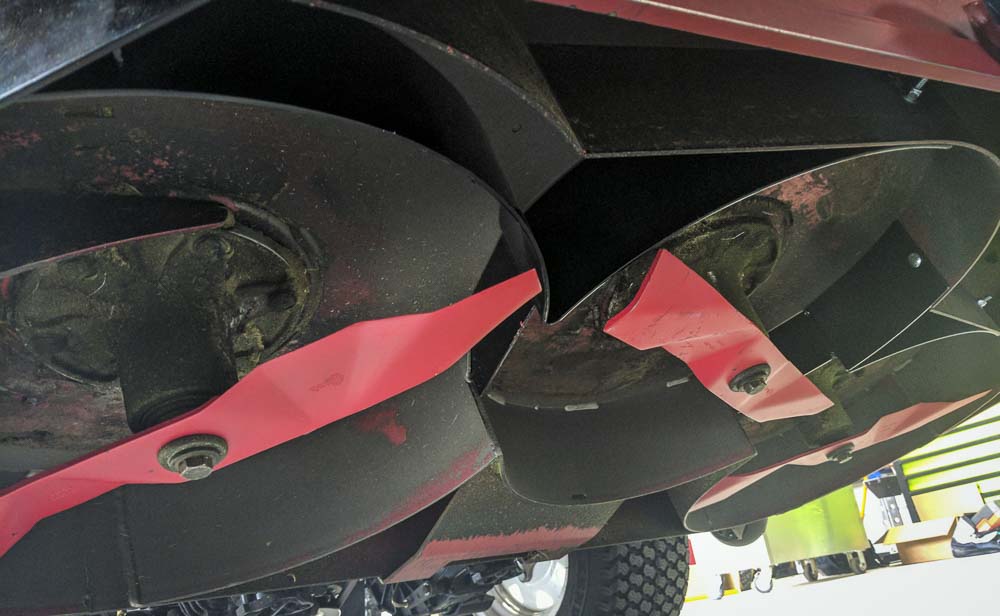
Obviously, a sharp blade will get the upcoming work done a whole lot better than the dull one that’s presently attached to your mower. A sharp blade will cut the grass cleanly, allowing for the cut grass to heal faster. This results in healthier, greener grass. A dull blade will rip and tear the grass apart, which leaves your grass ragged and prone to fungal growth. Face it, it’s probably time to break out the grinder and get that blade sharpened up.
Also, for those folks who don’t particularly enjoy keeping up with routine sharpening, Fisher-Barton has come up with some self-sharpening mower blades that might be worth looking into.
Either way, you’ll be removing the blades, either to sharpen or replace them. If you’re sharpening, you’ll also want to check the balance of the blade. An unbalanced blade makes adds a lot of vibrations to your mowing experience. It could also potentially damage the mower engine. Basically, you’ll want to get a hold of an inexpensive plastic blade balancer. If one side dips, you’ll know that side needs to have some metal removed to even up the weight displacement. Without removing metal from the blade edge, you’ll want to grind off some of the steel from the heavy side until the weight evens out.
6. Consider Cleaning the Carburetor
Hopefully, when winter came and the mowing season ended, you remembered to drain the gasoline from the mower. If you didn’t, you’re probably now facing the distinct possibility that the old fuel in the mower has gelled up, effectively gunking up your carburetor. If this has happened, you might need to actually take the mower to get serviced, or you can disassemble and clean the carburetor yourself.
However, your mower might just need a shot of carb cleaner to get things running again.
7. Check Tire Pressure
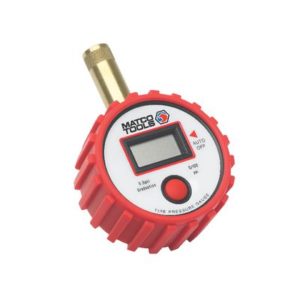
Just like your car, you’re going to want to keep up with your lawn mower’s tire pressure. Of course, if you’re using a push-style mower, you’ll probably be able to skip this step. But, if you’re on any sort of riding mower, you definitely want to make sure to fill your tires to the recommended pressure levels. We’ve been using the Ryobi 18V Cordless Inflator for all our tire-inflating needs.
Final Thoughts
With all those things ticked off your list, your chances of being able to get at the work you need to do when you actually need to do it should increase dramatically. If you’ve noticed any mower maintenance tips that we’ve left off the list, feel free to leave a comment below!

