Adding a mulching kit to your mower is more than just replacing the blades with mulching blades, grabbing a sweet tea, and calling it a day. Although, I would imagine that a large percentage of us do just that. When you install a mulching kit, aerodynamics and even engineering come into play. We opted for the Exmark micro mulch system to convert our Exmark Radius X-Series. Having a steady grass chute ejecting stage-right is getting a little long in the tooth. Who wants to bag nowadays, or worse, who wants to rake? Not us!
Do You Even Mulch, Bro?
If you recall, we reviewed the Exmark Radius X-Series 60-inch zero turn several months ago. It was time for a little upgrading, and there is no time like the present…so they say. We received the micro mulch system from Exmark, and it had everything needed in the kit. Even all the hardened nuts, bolts and washers are included. One step calls for drilling (depending on your model), otherwise every step is just bolt-on.
More than Just Blades – Exmark Micro Mulching System
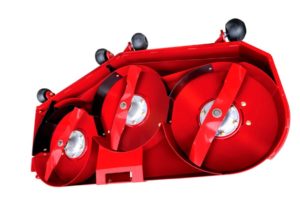
The kit comes with much more than just blades. Not only are the blades engineered to break down the grass into finer mulch, but the deck and new metal boundaries are used to keep the grass contained for the blades to do their job. The aerodynamics of the deck itself, teamed with the blades and components aid in the process. Furthermore, a block-off plate is included to keep any grass from being discharged out the side.
How To Install a Mulching Kit
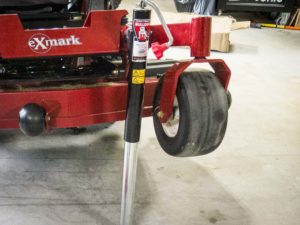
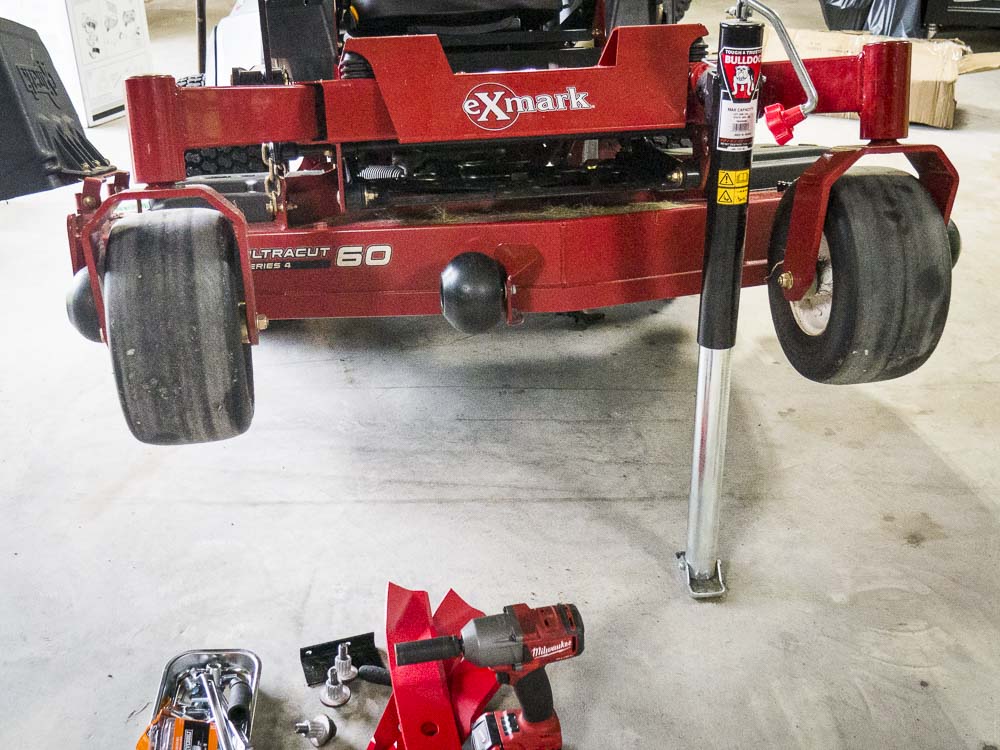
First up is to remove the existing blades that are on the mower. This step is no different than when you sharpen or replace your blades. Securely and safely lift the mower for access under the deck. We used the Bulldog jack that connects directly to the Exmark, with just a locking pin. Once you gain access, carefully remove the blades. We used our Milwaukee cordless mid-torque impact wrench to make short work of this step.
Cleanup – Scrapers Ready
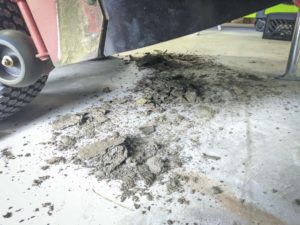
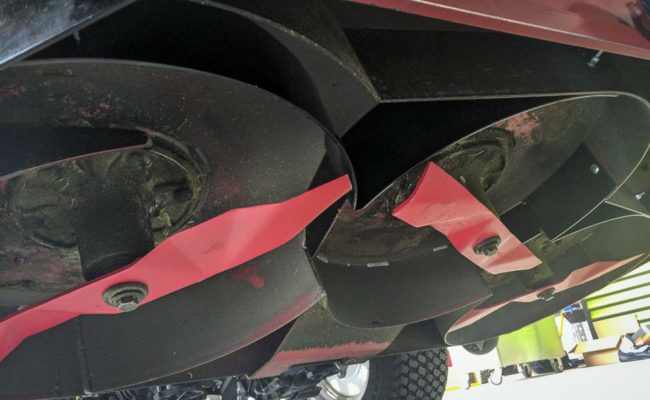
While you’re under the deck and while you have the blades off, why not clean up under there?! Well, you may not have a choice. There may be grass and debris accumulation that is covering the holes. In addition, if you have to drill some holes, you will need to remove the crud anyway. Get a handy scraper and maybe an air hose, and just go to town. In a matter of minutes, I had the underside of our deck pretty pretty. You can see the residual from my under-deck battle.
Boundaries People, Boundaries
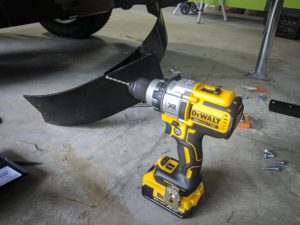
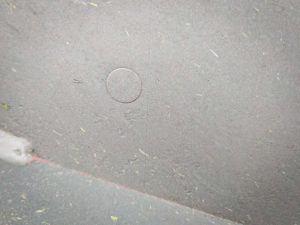
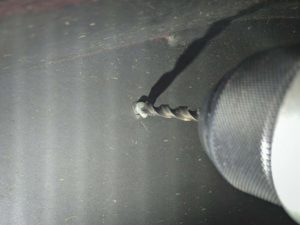
Now that our deck is clean. After the blades are removed, it’s time to add the new metal walls that divide each blade from one another. This basically quarantines the grass in a small area, so it can be chopped and re-chopped into tiny bits. Most of this is an easy bolt-on procedure, using the included hardware and fasteners. Depending on your exact model, you may have to drill a hole or two, as we did. Exmark even made the drilling easy, as you can see the marking of where the hole needs to be.
The directions make assembly a breeze, so just follow along. Even without them, with a little patience, you can figure out where each piece goes. With a socket and wrench, finish attaching all the pieces with the provided fasteners. We did this complete process in less than 30 minutes, so it doens’t take long. Now, the new mulching blades can be attached. No rocket-science here, just make sure the cutting edge of the blades facing the right direction.
Pro Tip: While you’re under there, check your spindles and bearings for wear. Wobble is bad.
Block It Off
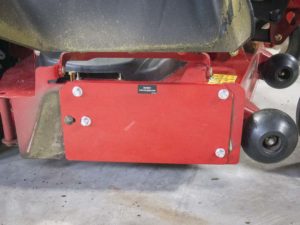
Most of your work is done. Now, it’s time to block off the grass chute on the deck, right side on the Radius X-series. With the four remaining nuts, bolts, and washers attach the block-off plate to the deck. Make sure all your fasteners are tight and that your blades are attached appropriately. Let’r down off the jack and take it for a spin.
Conclusion
Nobody wants to bag anymore and quite frankly, mulching makes sense. This is returning the grass from the exact area, right back into it’s own habitat. This not only aids in cleanup, but it also helps the lawn retain nutrients and moisture. To install a mulching kit is not a hard process and it’s not that expensive either. You need to replace blades from time to time anyway.
First Use
Typically, it’s recommended that mulching be done in the summer and fall, or slow to mid-growth season. That’s really a joke here in Central Florida. Summer is high-growth season. Also, we have found that a good micro-mulch system, like the Exmark, works well year round. There is a concern that it may clump too much if the grass is too tall or wet. However, if the lawn is maintained, mulching year round works just fine.
After a few laps and acres with the Exmark micro mulch system, we are confident this will work great. The results speak for themselves, and even better…no bagging or raking. Get yours today and start installing a mulching kit on your mower.
You can find the Exmark micro mulch system here.
Editors Note: When using a mulching kit or mulching system with Bahia (mostly in the Southeast), plan to sharpen or change blades more often. Bahia typically grows in very sandy areas. The additional lift from the mulching system will bring the sand with it, and sand wreaks havoc on any blade.

